How to Breed Mantis Species Successfully: A Step-by-Step Guide
Published on: December 5, 2025 | Last Updated: December 5, 2025
Written By: Rowan Hale
Hello, fellow mantis friend. There’s a quiet wonder in seeing your mantis pair engage in their delicate, ancient ritual-the slow arch of a back, the gentle tap of antennae, and the patient wait for new life to begin.
Breeding mantis species successfully is a rewarding journey that blends careful observation with a deep respect for their natural instincts, focusing on timing, environment, and gentle stewardship.
It’s a process that asks for your attention to detail, as each species from the leaf-like Ghost to the vibrant Orchid has its own subtle needs and rhythms.
We’ve broken it down into clear, manageable steps so you can feel confident every step of the way. Here are the key areas we’ll explore together:
- Recognizing the precise signs of breeding readiness in your mantis
- Creating a secure, species-appropriate enclosure that encourages natural behavior
- Safely introducing mates to minimize stress and the risk of aggression
- Providing ongoing care for the ootheca and the delicate hatchlings that follow
The Heart of the Matter: Preparing for Your Breeding Journey
Before we bring mantises together, we lay the groundwork with care and patience. Successful breeding starts long before the first introduction, with thoughtful preparation that sets the stage for healthy nymphs. Think of it as tending a quiet garden where every detail, from species choice to health checks, nurtures future life.
Choosing Your First Breeding Project
Your first foray into mantis breeding should feel manageable, not overwhelming. We recommend starting with a species known for its resilience and straightforward care requirements. For beginners, choosing an easy-care mantis species is essential. This helps you start confidently and focus on the breeding process without extra stress.
Ideal Species for a Confident Start
Some mantis species are more forgiving for novice breeders. These species typically have robust appetites, clear gender differences, and a calm disposition that makes handling safer. When you’re ready to explore breeding, starting with these hardy species can set you up for safer practices. We’ll also cover how to safely introduce male and female mantises and monitor for signs of readiness. Here are a few we trust for a smooth beginning:
- Giant Asian Mantis (Hierodula membranacea): Hardy and vigorous eaters, they adapt well to room temperatures. Our Moss, an adult male, thrived in a simple setup with plenty of climbing space.
- Ghost Mantis (Phyllocrania paradoxa): With their slow, deliberate movements and lower space needs, they are gentle starters. Luna, our ghost mantis, bred successfully in a tall, well-ventilated container.
- European Mantis (Mantis religiosa): Widely available and familiar, they have distinct gender markers and are less fussy about humidity swings.
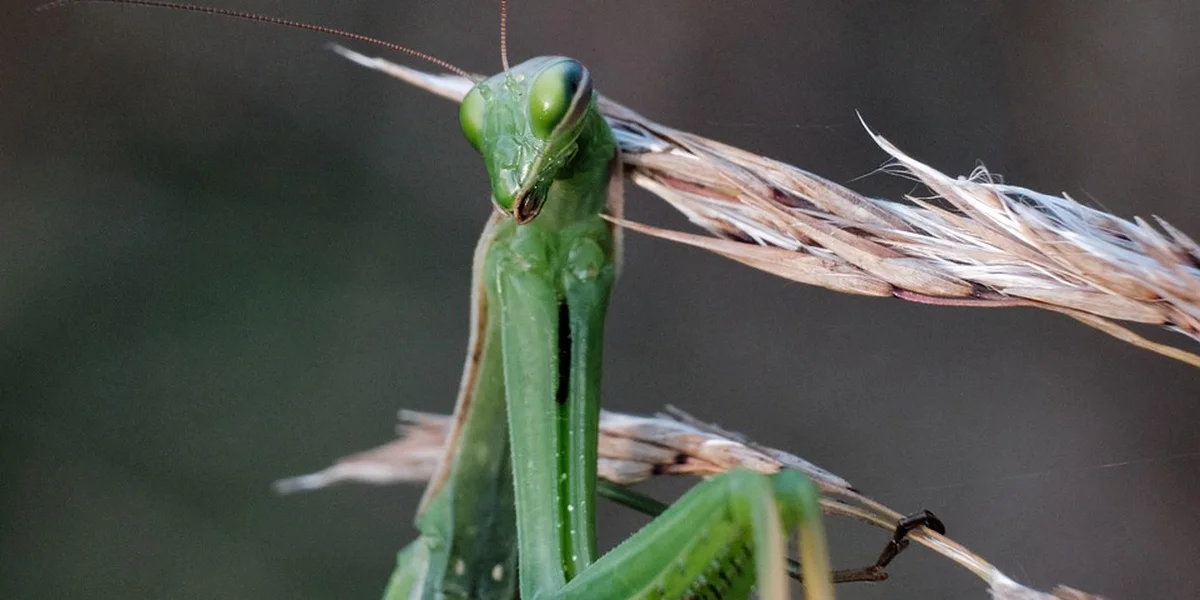
Understanding Gender: Telling Males from Females
Accurately sexing your mantises is the cornerstone of breeding. Males and females often differ in size, shape, and antennae, with these traits becoming clearer after the final molt. Use this simple guide to spot the differences:
- Body Size and Abdomen: Females are generally larger and heavier, with a broader abdomen designed for egg production. Males tend to be slender and lighter.
- Antennae and Eyes: Male mantises often have longer, featherier antennae to detect female pheromones. Their eyes might appear slightly larger relative to their head.
- Segment Count: On the underside of the abdomen, females typically have six segments, while males have eight. Check this gently when your mantis is calm.
We always observe our mantises over several days to confirm gender. Misidentification can lead to failed pairings or even cannibalism, so take your time with this step.
The Essential Quarantine and Health Check
New mantises should always enter a quarantine period before joining your breeding group. This quiet isolation prevents the spread of mites, fungal infections, or stress-related issues that could jeopardize your project. This is the first step in a standard quarantine protocol for new mantises. Use a simple, step-by-step process to monitor health and prevent cross-contamination before integrating them into the breeding group. Set up a separate, plain enclosure with paper towel substrate and minimal decor for at least two weeks.
During quarantine, monitor these health signs closely:
- Appetite and Feeding: A healthy mantis strikes eagerly at live prey like fruit flies or crickets. Hesitation or refusal can signal underlying problems.
- Activity and Posture: Look for alert movements and a firm grip on branches. Lethargy or a constantly drooping posture needs attention.
- Skin and Eyes: Clear, bright eyes and a smooth exoskeleton free of strange spots or deformities are good indicators. After molting, ensure the new skin hardens properly.
Once your mantises pass this check, they are ready for the breeding habitat. We never skip quarantine-it is a quiet insurance policy for the entire colony’s well-being.
Crafting the Perfect Breeding Habitat
With healthy mantises prepared, we turn to their home. A well-crafted habitat reduces stress, encourages natural behaviors, and supports successful mating and egg-laying. It is a living space that should feel secure and enriching, much like a miniature forest canopy.
Setting Up the Adult Enclosures
Adult mantises need individual enclosures until breeding time. Separate homes prevent early confrontations and allow you to control feeding and condition each mantis properly. Use tall containers, as mantises are climbers by nature. When you’re ready to breed, transition them to a dedicated breeding enclosure designed to support mating and egg deposition. A well-planned breeding setup helps you monitor pairing and humidity for healthy offspring.
Space, Security, and Strategic Furnishings
Balance space with security to keep your mantises safe and content. An enclosure three times the mantis’s length in height provides room for molting and exploration without feeling cavernous. Here is how we furnish it:
- Ventilation and Lid: Mesh or fine screen lids ensure airflow while preventing escapes. Check for gaps-a mantis can squeeze through tiny openings.
- Climbing Structures: Twigs, thin branches, or artificial vines offer perches. Our Sprig, an orchid mantis, loves delicate fake flowers that mimic her natural habitat.
- Ceiling Attachment Points: Ensure the lid or sides have texture for hanging. Females need secure spots to attach their oothecae (egg cases).
Avoid overcrowding with decor. A few well-placed furnishings create a comfortable territory that feels both open and sheltered.
Dialing in the Environment
The right environment mimics the mantis’s native conditions, promoting vitality and breeding readiness. Subtle shifts in temperature, humidity, and light can trigger natural reproductive cycles. Use a simple digital hygrometer and thermometer to keep track.
The Trifecta: Temperature, Humidity, and Light
Maintain this balance for most common species:
- Temperature: Keep enclosures between 72°F and 82°F (22°C to 28°C). A low-wattage heat mat on one side creates a gentle gradient. Warmth aids digestion and activity, but avoid direct heat that could dehydrate your mantis.
- Humidity: Aim for 50% to 70% relative humidity, misting lightly with warm water once or twice daily. The soft spray should bead on the walls, not pool on the substrate, to prevent mold and respiratory issues.
- Light: Provide indirect natural light or a low-output LED for 10 to 12 hours a day. Avoid intense, drying bulbs. A consistent day-night cycle helps regulate their internal clocks, making them more predictable during breeding.
Maintaining a Clean and Safe Space
Regular upkeep prevents disease and keeps your mantises thriving. Weekly spot-cleaning of waste and leftover prey items maintains a fresh, odor-free environment. Follow these steps:
- Remove any uneaten food after 24 hours to avoid attracting pests or stressing the mantis.
- Gently wipe down enclosure walls with a damp cloth to clear condensation and residue.
- Replace substrate like paper towel or coconut fiber every two weeks, or sooner if soiled.
We always wash our hands before and after handling enclosures. A clean habitat is a calm habitat, reducing risks and letting your mantises focus on what comes next-breeding.
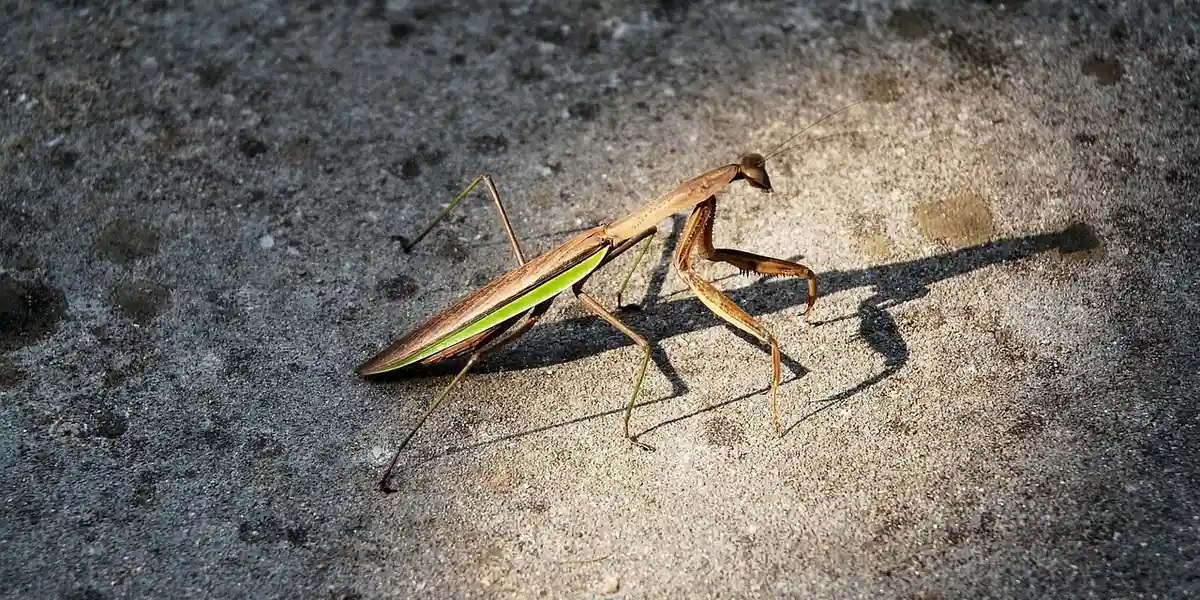
The Courtship and Mating Process
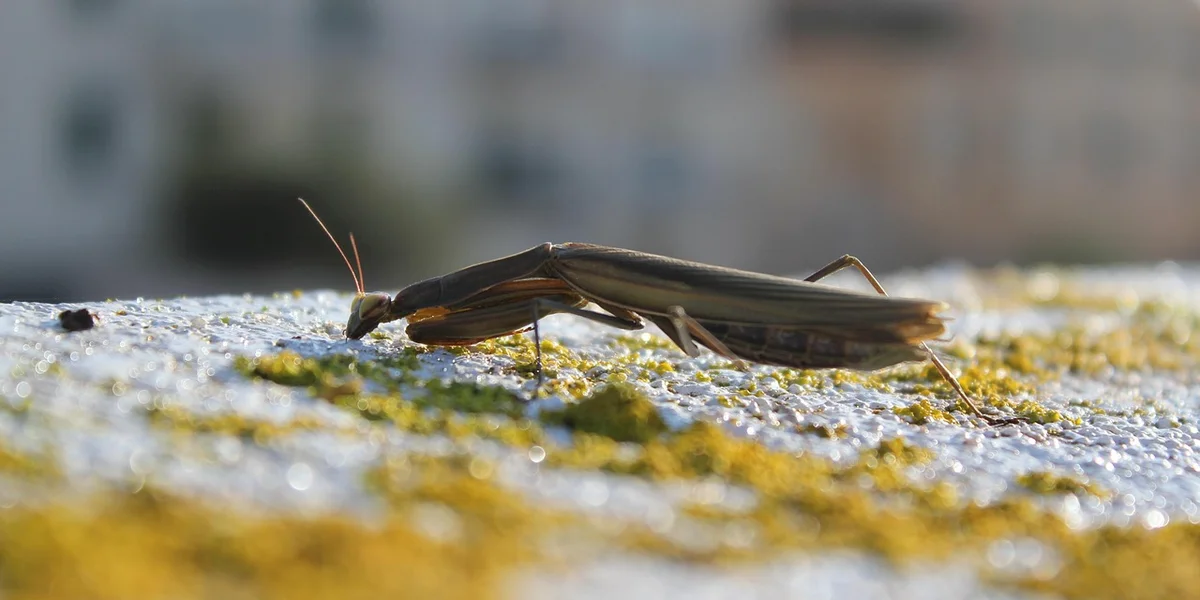
This phase unfolds like a whispered secret in the greenery, where instinct guides every delicate motion. We approach mantis courtship with a keeper’s quiet reverence, knowing each species has its own timeless rhythm. Your role is to create a space where nature can take its course, undisturbed and full of gentle potential.
Preparing and Pairing Your Mantises
Success begins long before the mantises meet, with careful, thoughtful setup. We always prepare the enclosures and the mantises themselves, treating this as a calm, deliberate ritual. A rushed pairing often leads to stress or missed cues, so we move slowly, with purpose.
- Confirm both mantises have moulted to adulthood within the last two weeks, ensuring full physical maturity.
- Adjust the habitat humidity slightly upwards, as the moist, still air can encourage receptive behaviour.
- Use a completely new, neutral container for the introduction-one that carries neither mantis’s scent.
We used a spare, well-planted terrarium for Moss, our male Giant Asian Mantis, and watched his curiosity blossom in the fresh space. A neutral territory removes territorial anxieties and lets both individuals focus on each other.
Signs of Readiness and the Introduction Ritual
Reading your mantis’s body language is the most important skill you will use here. A receptive female often holds her body still and low, with her raptorial arms tucked gently beneath her, whilst a ready male becomes a fluttering bundle of focused energy. Our Ghost Mantis, Luna, would sway almost imperceptibly when she was ready, her frilled arms relaxing.
- Feed the female a hearty meal, like a large cricket, 24 hours prior to satiate her hunting drive.
- Introduce the male to the neutral space first, allowing him ten minutes to settle and explore.
- Place the female gently on the opposite side, using a soft brush or stick to avoid hand contact.
We keep the room dim and quiet, mimicking the soft light of early evening. This low-stress introduction ritual allows the mantises to communicate through posture and movement, not fear.
Observing the Act and Ensuring Safety
Observation requires a blend of stillness and readiness, like watching frost form on a leaf. You must be present to ensure safety, but invisible enough to not disrupt the natural sequence. Keep a clear plastic cup and a piece of cardstock nearby for swift, non-invasive separation if needed.
The male will often approach in a series of cautious, freezing steps before making contact. Successful coupling can last several hours, during which your main duty is to monitor for sudden aggression. We never intervene during the actual transfer of sperm, as disturbance can cause physical harm.
- Watch the female’s head and arms; if she makes a sudden lurch, be prepared to gently slide the card between them.
- After the male separates, he will often be weary-carefully return him to his own enclosure for rest.
- Provide the female with a drop of honey-water on a leaf and a quiet space, as she may soon begin producing an ootheca.
With Sprig, our Orchid Mantis, we learned that a post-mating misting session helps both mantises rehydrate and calm their nerves. This simple act of care supports their recovery and closes the chapter on a demanding natural process.
From Ootheca to Nymphs: The Next Generation
Watching a mantis ootheca transform into a bustling nursery of nymphs is one of the most rewarding moments in our hobby. This quiet miracle, from a frothy egg case to dozens of tiny, curious lives, connects us directly to the cycle of growth in our care. We will guide you through each delicate stage, ensuring your next generation thrives.
Handling the Precious Egg Case
That foamy, hardened capsule your mantis laid is surprisingly resilient, but it still deserves a gentle touch. Always handle the ootheca by its sides or base, avoiding any pressure on the central chamber where the embryos develop. I remember when Moss’s female produced her first ootheca; I used a soft artist’s brush to gently detach it from the enclosure mesh, feeling its light, papery texture.
Ootheca Basics: Gestation, Egg Count, and Placement
Every species has its own timeline and capacity, which shapes your planning. Gestation can range from three to ten weeks, heavily influenced by consistent warmth around 24-28°C. Here is a quick reference for common pet species:
- Ghost Mantis (like Luna): Approximately 4-6 weeks gestation, with 20-50 tiny nymphs per ootheca.
- Giant Asian Mantis: Around 5-8 weeks, producing a robust 100-200 nymphs.
- Orchid Mantis (like Sprig): Often 6-10 weeks, with a smaller but precious brood of 30-80 nymphs.
Placement is key for security and hatching success. Mount the ootheca vertically or at a slight angle in a well-ventilated container, mimicking how it would be found on a twig or leaf in the wild. Use a dab of non-toxic glue or a soft thread to secure it, never piercing the case itself.
The Incubation Period
This waiting game is all about maintaining a stable, miniature climate. Think of incubation as keeping a steady, spring-like environment-not too dry, not too damp, with gentle air flow. A simple plastic deli cup with mesh ventilation works perfectly. We maintain humidity with a light mist every other day on the container walls, not directly on the ootheca, to prevent mould. You will know things are progressing well when the ootheca maintains its shape and colour, without any sunken or discoloured patches.
Welcome, Hatchlings! Early Nymph Care
The first sign of hatching is a subtle rustling, then a cascade of miniature mantises pouring out, each no bigger than a grain of rice. Your calm presence is vital now, as these first instar nymphs are incredibly delicate and easily stressed. Have their nursery enclosure ready beforehand to transfer them quickly and safely.
First Meals and Housing for Tiny Mantises
Those tiny nymphs need food and space suited to their size within hours of hatching. Flightless fruit flies (Drosophila melanogaster) are the universal first meal, providing the perfect, moving target for their first hunt. Dust the flies with a fine calcium supplement to support their rapid growth. Choose the right feeder insects to ensure your nymphs thrive.
For housing, simplicity and safety win. A large, well-ventilated plastic container lined with kitchen paper is ideal, offering a clean surface and preventing escapes. Here is a basic setup checklist:
- Vertical sticks or mesh for climbing and molting.
- A shallow water source like a damp cotton ball, changed daily.
- Gentle, ambient light-never direct sunlight or heat lamps.
We keep our nymphs in small groups initially, but be prepared to separate them after a few days as they grow and their appetites increase. Watching Sprig’s brood take their first, wobbly steps onto a twig, then suddenly strike at a fruit fly with shocking precision, never loses its magic.
Navigating Challenges and Setbacks
Even with the best preparation, breeding mantises is a journey with its own quiet hurdles. Viewing these not as failures, but as learning moments, is what transforms a hopeful attempt into a keeper’s earned wisdom. We’ve faced our share of still moments in the terrarium, and the solutions often lie in gentle adjustments to their world—or in some cases, deeper knowledge about mantis genetics to set realistic expectations.
Common Breeding Problems and Solutions
When things don’t go to plan, it’s usually a signal from your mantises about their environment. The most common issues stem from three areas: timing, climate, and the subtle signs of stress we might overlook. Let’s walk through them together.
Failed Mating, Mold, and Non-Viable Eggs
A motionless male or a disinterested female can halt the process before it begins. Often, the female simply isn’t ready; her pheromone signal hasn’t reached its peak, leaving the male confused or cautious. We’ve found that ensuring the female is visibly plump and has been well-fed for at least two weeks prior makes a profound difference. A nervous male might also need a more complex habitat-adding a few twigs or leaves near the ceiling gives him safer approach routes.
Discovering a fuzzy white patch on an ootheca is a heart-sinking sight. Mold thrives in stagnant, overly wet air, and it’s a clear call to reassess your ventilation and misting routine. A spot of mould on the surface can sometimes be carefully dabbed away with a cotton bud dipped in a mild saline solution, but prevention is key. We aim for that cycle of humidity rising after a mist, then falling as fresh air flows through. A small computer fan placed near the enclosure’s top vents can work wonders for air movement without creating a draft.
An ootheca that turns dark brown or black and shrivels, rather than plumping up, may not be viable. This can happen if the female was too young or undernourished when she mated, or if the incubation humidity was consistently too low. It’s a natural part of the process. We gently remove these oothecae to keep the enclosure clean, but we always wait several weeks to be certain, as some species have surprisingly long incubation periods.
Monitoring Nymph Health and Development
Your first glimpse of those tiny, perfect nymphs is pure magic. Their care now shifts to micro-management, focusing on the trifecta of hydration, nourishment, and safe space. Think of them as living dust, incredibly fragile yet brimming with instinct.
Their initial development follows a rapid, predictable pattern. You’ll witness their first moult, often within 24-48 hours of hatching, as they shed their delicate neonatal skin to become stronger L2 nymphs. Keep a simple journal. Note the hatch date, count how many moult successfully, and watch for consistent growth. A healthy nymph is alert, with a slightly rounded abdomen, and will readily lunge at a fruit fly.
Here are the main things to watch for in those critical first weeks:
- Hydration is Non-Negotiable: Misting the walls and leaves twice daily provides their drinking water. We watch for them to tilt their heads and sip droplets-a sure sign they’re taking it in.
- The Right First Food: Flightless fruit flies (Drosophila melanogaster) are the perfect starter meal. A culture can be kept on a countertop and provides a continuous cloud of tiny, moving prey.
- Cannibalism Concerns: Space is everything. House nymphs individually in deli cups or small net cages. Overcrowding, even with ample food, triggers their natural instincts.
- Recognising a Struggling Nymph: Be alert for nymphs that cannot hang upside-down, have crumpled or stuck shed skin, or whose abdomens look shrunken. These often point to low humidity during a moult or lack of accessible food.
With Moss’s first clutch, we learned the hard way that a single day of dry air during a communal moult could cost several nymphs. Now, we place a damp piece of clean sponge in their enclosure when we see them becoming still and pale, signalling an impending moult-it gives that microclimate boost they desperately need. It’s these small, attentive actions that shepherd a brood from hatching to hardy juvenile.
Responsible Breeding Practices
Moving beyond the mechanics of mating and oothecae, we enter the true heart of keeping-the thoughtful stewardship of these remarkable lives. This phase asks for more patience than the first.
Ethical and Legal Considerations
Before a single nymph emerges, we must look at the bigger picture. Breeding isn’t just about creating life; it’s about responsibly managing it.
Your first duty is to have confirmed homes for every nymph you reasonably expect to hatch, knowing you may need to care for dozens for several weeks.
Ask yourself these core questions before proceeding:
- Market Saturation: Is this a common species already flooding local groups? Breeding more may contribute to a surplus where animals are not valued.
- Your Capacity: Can you house, feed, and separate up to a hundred fast-growing nymphs? Cross-contamination or cannibalism in cramped quarters is a grim reality.
- Genetic Health: Are you breeding from unrelated, healthy stock to avoid weakening the gene pool? Avoid pairing siblings from the same ootheca.
- Hybrid Vigour is a Myth: Never attempt to cross different mantis species. The results are often sterile, unhealthy, or non-viable, and it muddies pure bloodlines within the hobby.
Legally, always check your local regulations. Some regions restrict non-native species, and you must never release captive-bred mantises into the wild. They can disrupt local ecosystems.
Assessing Your Success and Next Steps
A fertile ootheca is a triumph, but the journey is just beginning. True success is measured in thriving nymphs and your own preparedness.
Successful hatching is a whirlwind of tiny, frantic movement-often at dawn-with nymphs hanging from silken threads called “ballooning” lines.
Your immediate steps post-hatch are critical:
- Separation: Within 48 hours, gently move nymphs to individual deli cups or similar small enclosures. This prevents cannibalism after their first meal.
- First Meal: Offer flightless fruit flies or similarly minute prey. A well-fed nymph is more likely to molt successfully.
- Housing Management: Maintain light humidity with careful misting and provide tiny sticks for molting. Good airflow prevents mold.
Reflect on your breeding cycle. Was the female well-fed and hydrated beforehand? Did the male escape safely? Note what worked. Keeping a simple journal, noting dates of mating, ootheca laying, and hatching, transforms anecdote into valuable keeper knowledge for next time. A Breeder’s Journal can be invaluable for tracking these details.
For the nymphs, your care is their world. Watching them, like my Moss did in his youth, meticulously track their first fruit fly is a profound reward. Each successful molt is a step toward a future where they bring someone else the same quiet wonder they brought you.
Questions from Fellow Mantis Friends
What is the success rate of mantis breeding and what factors influence it?
The success rate can be quite high with attentive care, but it varies significantly based on species and breeder expertise. Primary influencing factors include maintaining optimal environmental conditions, accurate timing for introductions, and ensuring both mantises are healthy and well-fed.
What should I feed breeding mantises?
Provide a consistent diet of gut-loaded live prey, such as crickets or roaches, to keep adults robust and ready for reproduction. For the female specifically, offer larger meals before pairing to support ootheca development and minimize aggression towards the male.
How do you clean and maintain the breeding enclosure?
Perform weekly spot-cleaning to remove frass and leftover prey, which prevents mold growth and deters pests. Regularly check and adjust ventilation and humidity levels through gentle misting to sustain a clean, stable habitat for breeding activities.
A Gentle Send-Off for Your Breeding Journey
Successful mantis breeding rests on thoughtful preparation, from ensuring both insects are truly ready to providing a calm, spacious environment for their delicate courtship. Patience and quiet observation are your greatest tools, turning a complex biological process into a series of manageable, watchful steps.
We hold a special responsibility to care for the lives we encourage into our homes, from the delicate adults to their future offspring. Let your curiosity as a keeper grow alongside your mantises, finding joy in the continuous learning that this quiet, fascinating hobby offers.
Further Reading & Sources
- Breeding mantids | Jenny Read
- Breeding praying mantises | Keeping Insects
- How to Breed Praying Mantis – Time to Breed
- r/mantids on Reddit: Breeding praying mantis tips.
Rowan Hale is a lifelong insect enthusiast who fell in love with mantises for their calm presence, alien elegance, and surprising personalities. After years of keeping and raising a variety of species, Rowan shares practical tips, creative insights, and real-world experience to help others enjoy the quiet magic of mantis care. From setting up the perfect enclosure to understanding their subtle behaviors, Rowan invites readers into a gentle, curious world where every tiny movement feels like a discovery.
Breeding Practices