Creating a Graduated Enclosure System for Growing Mantis Nymphs
Published on: February 8, 2026 | Last Updated: February 8, 2026
Written By: Rowan Hale
Hello, fellow mantis friend. Have you ever watched a tiny nymph perched in a vast enclosure, looking a bit lost, or found an older mantis struggling to hunt in a cramped space that no longer fits?
A graduated enclosure system is the thoughtful practice of providing your mantis with a series of appropriately sized habitats as it grows from a delicate nymph into a formidable adult.
Setting this up involves more than just picking different-sized containers; it’s about matching the habitat’s security, ventilation, and furnishings to your mantis’s specific life stage.
Here are the core principles we’ll cover:
- Selecting the perfect starter home for a fragile first-instar nymph.
- Knowing the precise signs it’s time to upgrade to a larger space.
- Choosing safe and enriching furnishings for every stage of life.
- Maintaining stable temperature and humidity during transitions.
Why Graduated Enclosures Are Essential for Mantis Nymphs
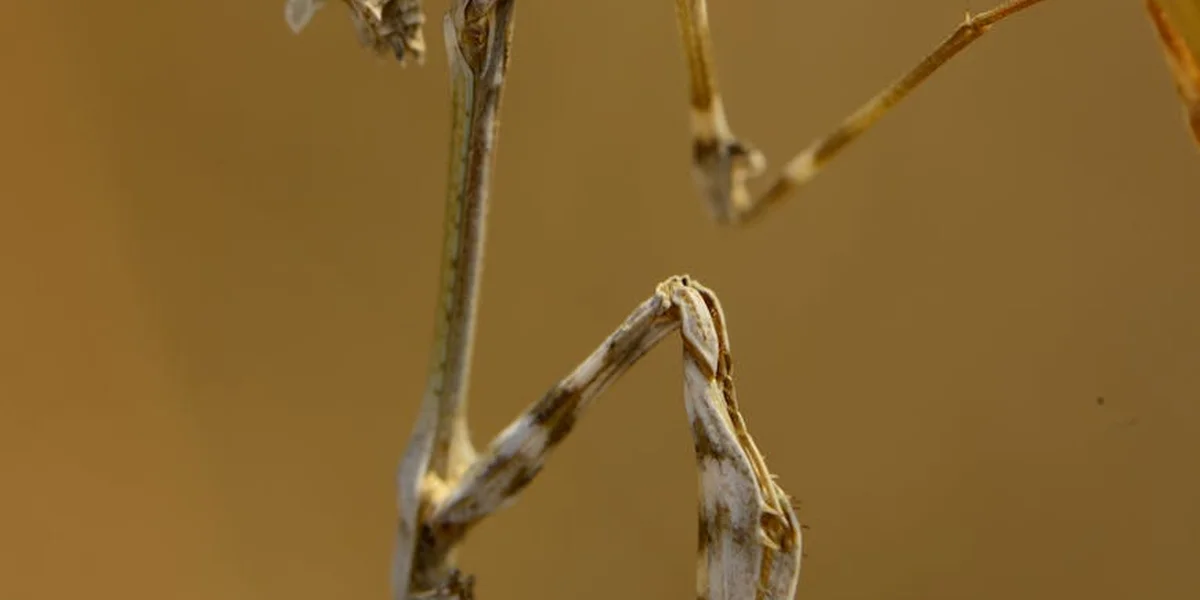
Mantis nymphs grow at a surprising pace, shedding their skin several times before adulthood. Each molt requires ample vertical space for them to hang freely and stretch out, as cramped quarters can lead to incomplete sheds or trapped limbs. We’ve watched our own mantises, like Luna, carefully position herself upside down before a molt, needing that extra inch to ensure a smooth transition. During the first 30 days, keeping the enclosure spacious and well-humidified matters most. For a step-by-step plan, check out our Mantis Nymph Survival Guide.
In tight enclosures, nymphs may bump into walls or fail to find a secure anchor point. I recall when Moss, as a young nymph, got his leg caught during a molt in a too-small jar; it taught us firsthand how vital roomy, staged habitats are for preventing injury. Stress from confinement can also make them more skittish and less likely to thrive.
Graduated systems offer tailored environments that evolve with your mantis. Benefits include precise humidity management in smaller spaces, lower stress from comfortable roaming areas, and dedicated support for each growth phase. Here’s a quick list of why this approach works so well:
- Better humidity control: Smaller enclosures make it easier to maintain ideal moisture levels for molting.
- Reduced stress: More space means less agitation and healthier behavior.
- Growth stage support: You can adjust setups to match nymph size and needs, promoting successful development.
Choosing Your Enclosure Type: Build vs. Buy Options
When selecting enclosures, you’ll face the choice between DIY projects and ready-made kits. DIY modular terrariums let you customise every detail, which is perfect for matching your mantis’s unique habits, but they demand time and crafting skills. Pre-built options arrive ready to use, saving effort but sometimes lacking personal touches.
Materials play a big role in your decision, each with its own trade-offs. Plastic containers are lightweight and budget-friendly, though they may scratch easily and need regular checks for wear. Glass terrariums offer sturdiness and clear visibility, but their weight can make handling tricky. Mesh-sided designs provide excellent airflow, ideal for species that prefer drier conditions, yet they might not hold humidity as well.
Weighing cost, cleaning, and security is key to a safe home. Escape-proof features like snug-fitting lids and fine vents are non-negotiable, as even tiny nymphs can slip through gaps. Consider these factors in your choice:
- Cost: DIY often costs less upfront, while pre-built kits include convenience in the price.
- Ease of cleaning: Smooth surfaces in plastic or glass allow quick wipes, whereas mesh may need gentle brushing.
- Escape-proof design: Look for secure closures and minimal seams to keep curious nymphs safely inside.
Step-by-Step Guide to Assembling Your Graduated Enclosure
-
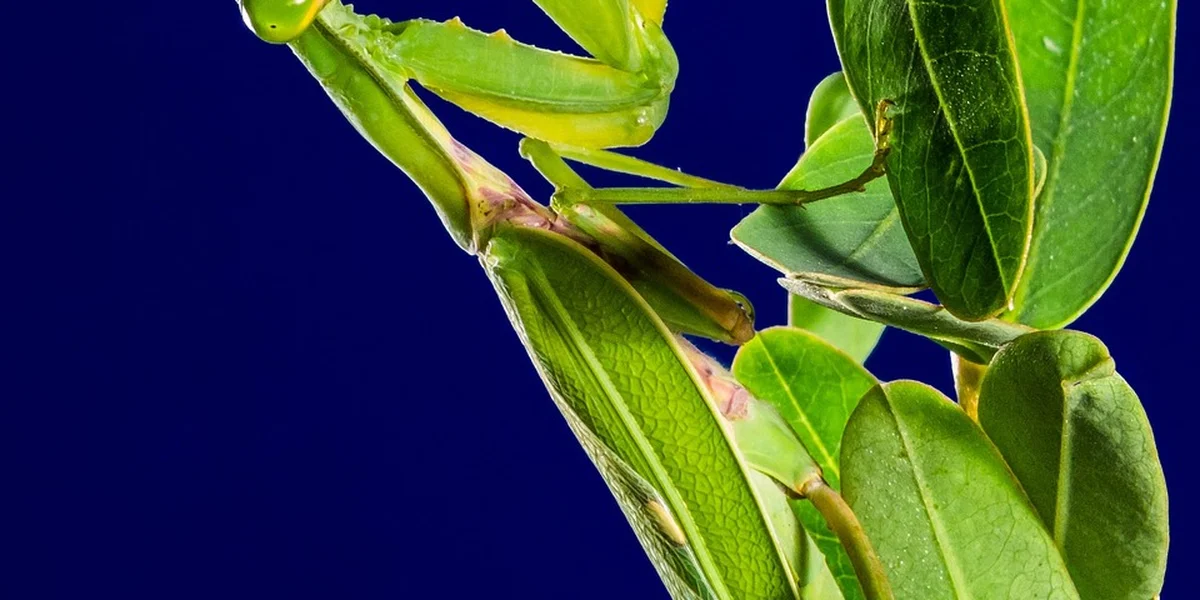
Begin by gathering all your supplies in one spot to make the process smooth and stress-free. You will need safe enclosure materials like small plastic deli cups for early stages or glass terrariums for older nymphs, ensuring they are non-toxic and easy to clean. Choose a substrate such as coconut fiber or plain paper towels to line the bottom, which helps maintain humidity and gives a soft landing for delicate nymphs. Add perches from natural twigs or bamboo skewers, and include foliage from pet-safe plants like pothos or artificial leaves to mimic their natural habitat and provide cover.
-
Construct the base layers by first placing your chosen substrate evenly across the enclosure floor, about half an inch deep for moisture retention. Proper airflow is vital to prevent mold and keep the environment fresh, so opt for enclosures with mesh ventilation panels on the lid or sides. If you are using a DIY setup, you can carefully drill small holes or attach fine mesh netting to ensure a steady exchange of air without creating drafts that might chill your nymphs.
-
Now, add hiding spots and enrichment items to make the space feel secure and engaging for your mantis. Tuck in small cork bark rounds or folded leaves to create cozy nooks where nymphs can retreat when they feel shy. Enrichment like gently curved vines or lightweight branches encourages natural climbing and hunting behaviors, reducing stress and promoting healthy activity. When considering what the best enrichment items for a praying mantis habitat are, look for safe, natural-feeling elements that promote climbing, hiding, and hunting. In practice, sturdy, non-toxic materials like cork bark, folded leaves, and lightweight branches work well. I often include a sprig of artificial fern for my Ghost Mantis, Luna—she loves perching among the fronds, almost disappearing into the greenery.
-
Before introducing any nymphs, thoroughly test the enclosure for stability and security by gently shaking it to check for loose parts or tipping hazards. Run your fingers along the edges to feel for any sharp points and ensure all mesh or lids fit snugly to prevent escapes. A quick misting test can also reveal if humidity levels are holding well, giving you confidence that your setup is ready for its new tiny resident.
Setting Up Each Stage: Enclosure Adjustments for Nymph Instars
-
As your mantis grows through its instars, the enclosure size must evolve to match its developing body and mobility. Start with small deli cups or containers around 4-6 inches tall for first to third instars, then transition to larger terrariums of 8-12 inches for fourth instar and beyond. Gradually increasing space prevents nymphs from feeling overwhelmed and supports their natural instinct to explore and hunt. For instance, Moss, my Giant Asian Mantis, moved from a modest cup to a spacious terrarium by his fifth instar, which gave him room to stretch and practice his strikes. It’s also important to choose the right enclosure that suits your mantis species’ specific needs.
-
Humidity and temperature control need careful tweaks, especially around molting periods when nymphs are most vulnerable. Raise humidity slightly by misting the enclosure walls lightly once or twice daily before an expected molt, aiming for levels around 60-70% to help soften the old exoskeleton. Maintain a steady temperature between 72-80°F using a low-wattage heat mat if needed, as stable warmth supports successful shedding and overall vitality. Avoid sudden changes, as drafts or dry spells can lead to stuck molts, a common issue we can easily prevent with attentive adjustments.
-
Select foliage and perches that align with the nymph’s size and activity level to foster comfort and engagement. For early instars, use fine, flexible twigs and small-leafed plants like baby tears or delicate fake vines that are easy to grip. As nymphs grow, introduce sturdier branches and broader leaves, such as oak or magnolia cuttings, which provide better support for their increasing weight and energetic movements. Sprig, my Orchid Mantis, adored her juvenile setup with soft pink silk flowers-they not only matched her colors but gave her perfect ambush spots during feedings.
Feeding and Hydration Tips for Healthy Nymph Development
Feeding your mantis nymphs starts with a simple schedule that matches their tiny size and rapid growth. We recommend offering live prey every two to three days, choosing insects no larger than the space between your mantis’s eyes to prevent choking or injury. Begin with fruit flies for the youngest nymphs, then gradually introduce larger options like pinhead crickets or small moths as they mature, always ensuring prey is readily available and gut-loaded for nutrition. To keep development on track, gradually phase out fruit flies as nymphs grow and transition to the larger prey you’ve started offering. This phased approach helps build stronger jaws and better digestion.
Misting provides both hydration and a humidity boost, much like a soft morning rain in their natural habitat. Use a clean spray bottle to lightly mist the enclosure walls and leaves once or twice daily, creating fine droplets that mimic dew for your mantis to sip from. Avoid spraying directly on your mantis to reduce stress; instead, focus on the foliage where they can drink at their own pace, and note how the air feels fresher and more humid afterward. To set up the perfect humidity level in your praying mantis enclosure, use a hygrometer to monitor the air and adjust misting as needed. Keep humidity steady with regular, light misting rather than heavy spraying.
Keeping the enclosure clean is key to preventing pests like mites or mold from taking hold. Remove uneaten prey and any debris within a few hours to maintain a tidy space, and perform a full clean-out weekly by gently transferring your mantis to a temporary container. Wipe down surfaces with warm water—no harsh chemicals—to ensure a safe, healthy environment that supports steady development without unwanted guests. Regular cleaning makes it easier to maintain your praying mantis habitat and spot any issues early. Clean maintenance is a key part of responsible mantis care.
Monitoring Growth and Solving Common Nymph Care Challenges
Regular observation helps you spot early signs of stress or molting issues, such as lethargy, darkening colors, or a mantis struggling to shed its old skin. Watch for subtle changes in behavior, like reduced appetite or unusual stillness, which can signal it’s time to adjust humidity or feeding routines. A healthy nymph will molt smoothly, leaving behind a crisp, empty exoskeleton, while failed molts often show as incomplete sheds or a mantis trapped in its old casing.
If escapes occur, check for gaps in the enclosure lid and secure it with fine mesh or clips to keep curious nymphs safely inside. For cannibalism risks, house nymphs separately from the start, as even siblings may see each other as prey in close quarters. Stuck sheds can often be resolved by gently increasing humidity with extra misting or placing a damp paper towel in the enclosure to help soften the old skin.
I recall when my Ghost Mantis, Luna, had a stuck shed during her subadult stage; she clung to a branch, looking frazzled and unable to free herself. By boosting the humidity with a warm mist and providing a rougher surface to grip, she slowly worked her way out, emerging stronger and ready for her next meal. Another time, Moss, my Giant Asian Mantis, tried to explore beyond his home, reminding me to double-check enclosure seals-a small fix that saved him from wandering into danger.
Questions from Fellow Mantis Friends
How many enclosures should I have ready for my mantis nymph?
Typically, 2-3 enclosures are sufficient, covering early nymph stages to subadult. Plan upgrades based on growth signs like cramped space or frequent molting.
What is the best way to transfer my mantis to a new enclosure?
Gently guide your mantis onto a soft brush or your hand to move them. Place them in the new enclosure slowly to avoid startling them and ensure they settle in comfortably. To safely transfer a stressed mantis between enclosures, use a small, ventilated transport container and minimize handling. Move slowly and keep conditions consistent to reduce stress during the transfer.
How do I know if the humidity is ideal for molting?
Use a digital hygrometer to check humidity levels, keeping it between 60-70% before molts. Proper moisture helps the exoskeleton soften for an easy shed.
Your Mantis Nymph’s Care Path Forward
Begin with small, secure enclosures and size up gradually to match your mantis’s growth, ensuring each stage supports safe molting and natural behaviors. This graduated system helps prevent escapes and injuries while fostering confidence in your nymph’s development.
We encourage all mantis keepers to embrace ongoing learning and attentive care as part of responsible pet ownership. Stay connected with fellow enthusiasts and trusted resources to refine your approach and provide a thriving home for your unique insect friend.
Further Reading & Sources
- How to Care for your Praying Mantis Pets | PanTerra Pets
- Enclosures and Housing: The Basics | Mantid Forum – Mantis Pet & Breeding Forum
- PanTerra’s Box – Praying Mantis Premium Habitat | PanTerra Pets
- r/mantids on Reddit: PSA: Exo-terras, metal mesh and your mantises toes! (and some advice on how to DIY an affordable enclosure)
Rowan Hale is a lifelong insect enthusiast who fell in love with mantises for their calm presence, alien elegance, and surprising personalities. After years of keeping and raising a variety of species, Rowan shares practical tips, creative insights, and real-world experience to help others enjoy the quiet magic of mantis care. From setting up the perfect enclosure to understanding their subtle behaviors, Rowan invites readers into a gentle, curious world where every tiny movement feels like a discovery.
Terrarium Types