How Long Do Praying Mantis Eggs Take to Hatch?
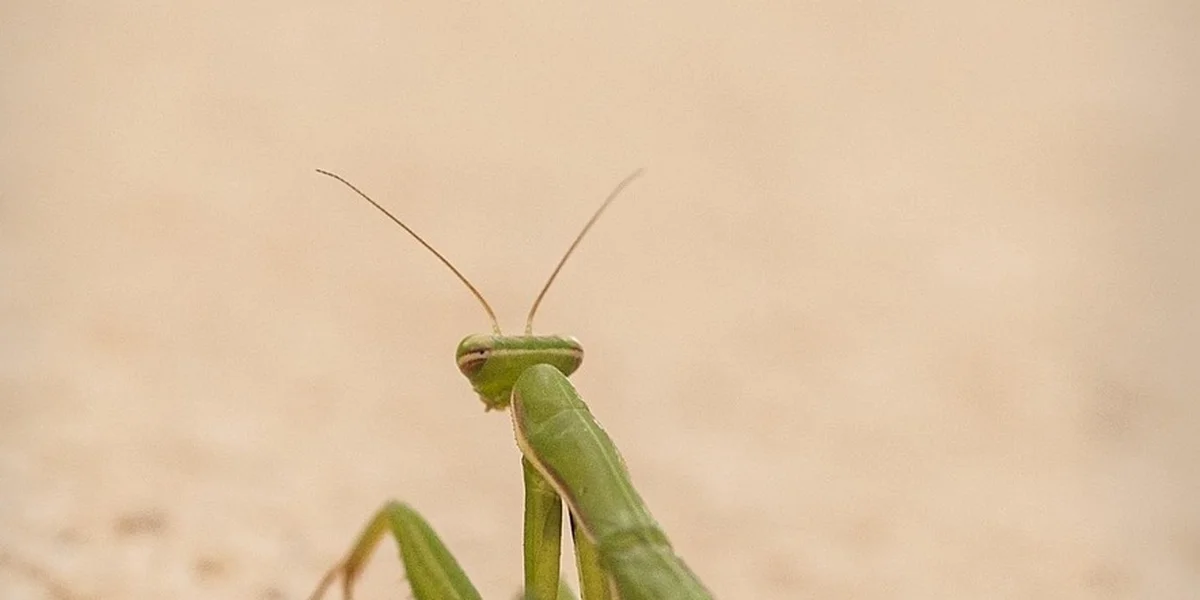
Hello, mantis friend.
There’s something truly magical about that little papery case-the ootheca-sitting quietly in your mantis enclosure. It holds the promise of new life, a tiny nursery waiting to unfurl.
Most praying mantis eggs will hatch within 3 to 6 weeks, but this timeline can vary dramatically depending on the species and the conditions you provide.
It’s a process governed by nature’s quiet rhythm, influenced by warmth, humidity, and the unique biology of your mantis. We’ve watched this delicate dance many times, from the patient wait for our Ghost Mantis Luna’s brood to the sudden, bustling emergence from Moss the Giant Asian’s egg case.
Here’s a quick look at what shapes the hatching timeline:
- The specific mantis species you’re caring for
- The temperature and humidity around the ootheca
- Whether the eggs are in a state of natural dormancy
- The incredible survival adaptations built into the egg case itself
Meet the Ootheca: Your Mantis’s Egg Case
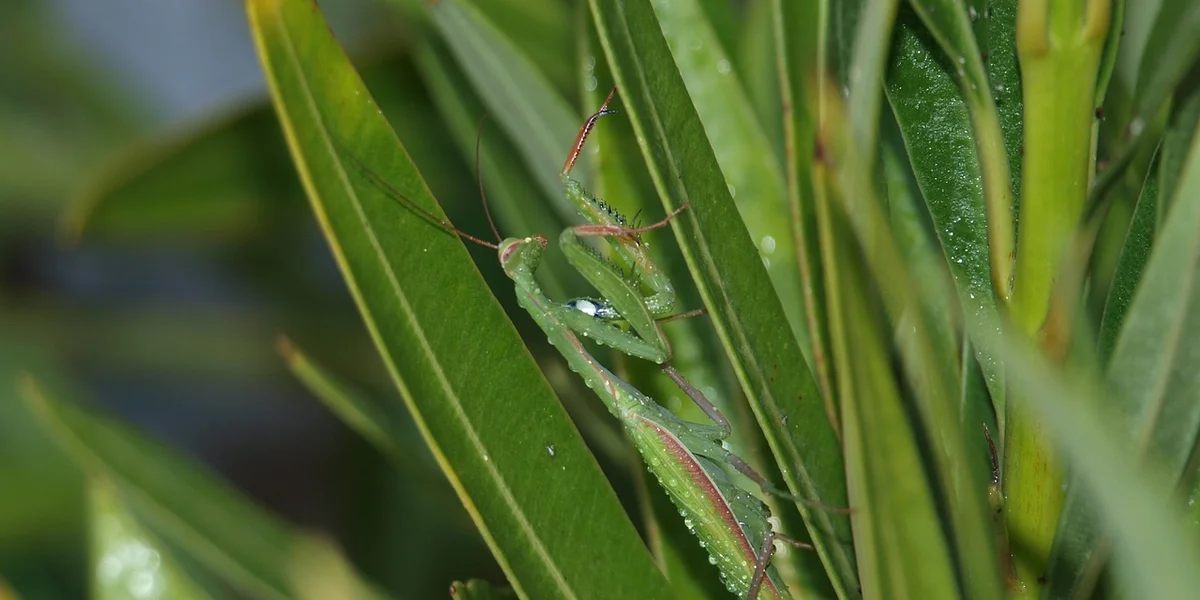
An ootheca is the protective foam case where your mantis lays her eggs, and it looks like a small, spongy pouch stuck to a branch or enclosure wall. We often find them clinging to twigs or the corners of the habitat, feeling firm yet slightly springy to the touch. Inside, dozens to hundreds of tiny eggs are safely tucked away, waiting for the right conditions to hatch.
When a female mantis creates an ootheca, she secretes a frothy liquid that hardens into a sturdy shell, shielding the eggs from predators and drying out. This natural insulation keeps the developing nymphs cozy, much like a well-wrapped parcel in the post. You might notice variations in color-from pale tan to dark brown-depending on the species and age.
In our own enclosures, we’ve watched mantises like Luna carefully position their oothecae in shaded spots. Handling them gently is key, as rough movement can damage the delicate structure and harm the eggs inside. We recommend leaving the ootheca in place unless you need to move it for safety, using a soft brush or your fingers to nudge it if necessary.
Typical Hatch Timeframes and What Influences Them
Most praying mantis eggs hatch within 3 to 6 weeks, but this can stretch to several months based on environmental factors. Patience is your best friend here, as rushing the process can lead to unhealthy nymphs. We’ve seen hatchlings emerge in as little as 20 days in ideal setups, while others take their sweet time. What happens after praying mantis eggs are laid plays a crucial role in determining their hatching time.
Several elements play a role in how long you’ll wait:
- Temperature levels in the enclosure
- Humidity consistency
- Species-specific traits
- Seasonal light changes
By monitoring these factors, you can create a nurturing environment that supports timely hatching.
How Temperature and Humidity Shape the Wait
Warmer temperatures, around 75-85°F (24-29°C), tend to speed up incubation, while cooler ones slow it down. Think of it like baking a cake-too cold, and it won’t rise properly; too hot, and it might burn. We use a simple thermometer to keep tabs, adjusting with a heat mat or moving the enclosure to a sunnier spot if needed.
Humidity is just as crucial, preventing the ootheca from drying out and ensuring the eggs stay hydrated. Aim for 50-70% humidity, which you can maintain with light misting once or twice a day. In our experience, a dry ootheca often delays hatching or causes the nymphs to struggle emerging.
Here’s a quick guide to ideal conditions:
- Temperature: 75-85°F (24-29°C) for faster hatching
- Humidity: 50-70%, checked with a hygrometer
- Misting: Use lukewarm water to avoid shocking the eggs
Consistency matters more than perfection, so small daily checks can make a big difference.
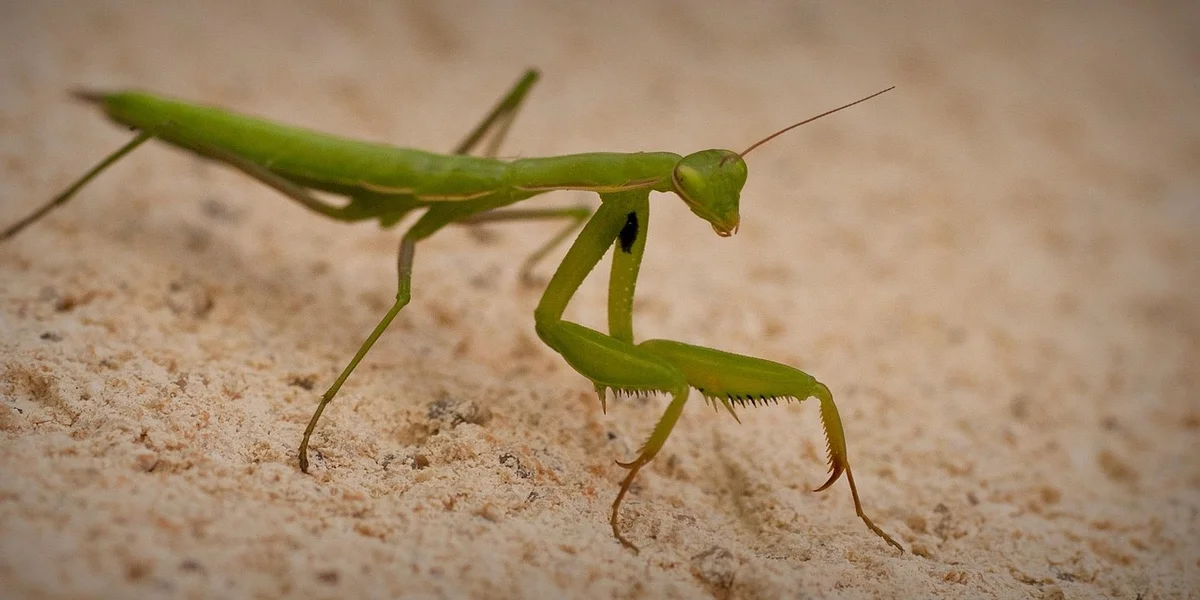
Species Differences in Incubation Periods
Different mantis species have unique incubation times, shaped by their natural habitats. For instance, Ghost Mantises like Luna often hatch in 4-6 weeks, while Giant Asian Mantises such as Moss might take 5-8 weeks. Orchid Mantises, like our Sprig, can vary widely, sometimes waiting 6-10 weeks due to their tropical origins.
We’ve compiled common species and their typical hatch ranges:
- Chinese Mantis: 3-6 weeks
- European Mantis: 4-7 weeks
- Orchid Mantis: 6-10 weeks
- Ghost Mantis: 4-6 weeks
Knowing your mantis’s species helps you set realistic expectations and tailor care accordingly.
In cooler climates, some species enter diapause-a resting phase-extending incubation to several months. We’ve found that mimicking seasonal shifts with gradual temperature drops can trigger this, but it’s best suited for experienced keepers. Always research your specific mantis to avoid surprises.
Spotting the Signs of Imminent Hatching
As the wait nears its end, the ootheca itself begins to transform, offering you clear physical clues. You will notice the once-uniform egg case developing distinct, darkened patches or a general darkening in colour, often taking on a brownish or greyish hue. This change signals that the tiny nymphs inside are fully developed and preparing for their grand entrance.
The texture of the ootheca’s surface becomes papery and thin in these darkened areas. If you look very closely, you might even see tiny, pinprick-sized holes appearing, a sure sign that hatching is just hours away. Sometimes, you can gently observe the shape of the tiny mantises curled inside, a magical preview of what is to come. If you’re following an ootheca watch 6 week countdown checklist, this marks hatching day—mark the date and prep your enclosure. Have your tiny mantis housing, ventilation, and food ready so you can transfer hatchlings smoothly as soon as they emerge.
Beyond the visual changes, the behaviour of a nearby female can be telling. My Ghost Mantis, Luna, became unusually still and observant near her ootheca in the final days, as if she too was aware of the impending event. This quiet vigilance from an otherwise active mantis is a subtle but meaningful behavioural hint that the nursery is about to get very busy.
Setting Up the Perfect Hatching Environment
Creating the right conditions for your nymphs to emerge into is just as important as spotting the signs. A proper setup is your first and most important gift to the new generation, ensuring they have a safe and healthy start. The two most critical factors you control are temperature and humidity, which directly influence the success of the hatch.
Maintain a steady, warm temperature between 75°F and 85°F (24°C – 29°C). A consistent warmth mimics the reliable conditions of spring and encourages a synchronized, healthy hatch. You can use a low-wattage heat mat placed on one side of the enclosure to create a gentle temperature gradient, but avoid placing it directly under the ootheca.
Humidity is the other key piece of the puzzle. Increase misting frequency slightly as you see the ootheca darken, aiming to keep the environment comfortably humid but never soggy. A light mist once or twice a day should suffice, creating tiny water droplets on the enclosure walls and foliage for the newborns to drink from later.
Indoor Incubation: A Step-by-Step Guide
Follow these simple steps to prepare a secure nursery for your mantis eggs.
- Select a well-ventilated enclosure that is at least three times the height of the ootheca. A large glass or mesh terrarium works perfectly.
- Line the bottom with a moisture-friendly substrate like coconut fibre or paper towel to help maintain humidity levels.
- Place several upright branches and tall, soft-leafed plants (like fake ferns or plastic ivy) directly beneath and around the ootheca. This provides essential climbing surfaces for the nymphs as they drop down and begin their first explorations.
- Position the ootheca securely at the top of the enclosure, attached to a stick or the lid, mimicking its natural elevated placement.
- Ensure the lid is secure. Newborn mantises, like my Moss’s hatchlings, are astonishingly small and expert escape artists.
- Place the setup in a quiet, low-traffic area with indirect light to minimize stress for the hatching nymphs.
Double-check that there are no large water bowls or sticky surfaces inside. The primary goal is to create a safe, climbable environment that prevents the delicate nymphs from drowning or getting stuck. For growing mantis nymphs, use a graduated enclosure system that scales with each molt. This staged setup keeps young nymphs safe while giving them room to climb and explore as they mature. With this careful preparation, you are ready to welcome your new mantis family.
Caring for Your New Mantis Nymphs After Hatch
When those tiny mantis nymphs first emerge, it’s a moment of quiet wonder-like watching miniature leaves unfurl in a gentle breeze. Your immediate focus should be on creating a safe, nurturing space that mimics the soft humidity and shelter of their natural habitat. A naturalistic setup with appropriate plants or foliage gives them cover and climbing opportunities, helping them stay calm and healthy. We always keep a small, ventilated enclosure ready, lined with a damp paper towel and a few twigs for climbing, so the nymphs can adjust without stress.
Feeding your new nymphs requires a delicate touch, as they’re often no bigger than a grain of rice. Offer freshly hatched fruit flies or pinhead crickets within the first day, placing them gently near the nymphs to encourage natural hunting instincts. When deciding between feeder fruit flies and houseflies for nymphs, fruit flies are usually the best starter due to their tiny size. Houseflies are much larger and can overwhelm or frustrate very young nymphs, so they’re often reserved for later molts or avoided altogether. With Moss, our Giant Asian Mantis, we learned that a misting of warm water on the enclosure walls helps maintain humidity without drenching the tiny creatures, keeping them hydrated and comfortable.
Handling should be kept to an absolute minimum in those first few days to avoid startling them. Use a soft paintbrush or a piece of paper to guide nymphs if you need to move them, rather than picking them up directly. We’ve found that a calm approach reduces the risk of injury and helps the nymphs feel secure as they explore their new home.
Setting Up the Perfect Nursery Enclosure
A well-prepared nursery doesn’t need to be fancy-a clean deli cup or small terrarium works beautifully. Include plenty of vertical surfaces like thin branches or mesh for climbing, as nymphs love to perch and observe their surroundings. Make sure the lid has fine ventilation holes to prevent escapes while allowing fresh air to circulate, which is vital for their health.
- Choose a small container with a secure, ventilated lid to avoid escapes.
- Add a damp substrate, like sphagnum moss or paper towel, to maintain humidity.
- Place a few twigs or artificial plants for climbing and hiding spots.
- Keep the enclosure in a warm spot, around 22-26°C, away from direct sunlight.
Monitoring temperature and humidity is key to preventing dehydration or stress. A simple hygrometer and thermometer can help you keep conditions stable, much like tending a tiny indoor garden. We check ours daily, adjusting misting frequency based on how the air feels-aim for that soft, dewy moisture you’d find on a spring morning.
When Hatching Doesn’t Go as Planned
Sometimes, an ootheca might not hatch on schedule, leaving you with a silent, unchanged egg case. Patience is your best ally here, as delays can stem from factors like cooler temperatures or natural variations in development. If weeks pass with no activity, gently inspect the ootheca for signs of life, such as tiny exit holes or movement, but avoid disturbing it unnecessarily. Breeders often use an ootheca not hatching troubleshooting checklist to systematically verify incubation conditions. If delays persist, refer to that checklist and consider adjusting temperature, humidity, and placement.
In cases where hatching seems stalled, reassess the environment for clues. Ensure the ootheca is in a warm, humid spot—around 24-28°C—as lower temperatures can slow down the process significantly. We once moved Luna’s ootheca to a slightly warmer area, and within days, a handful of nymphs emerged, reminding us how sensitive these little lives are to their surroundings. Be aware that many hatch failures come from common avoidable mistakes—there are 9 ootheca care mistakes to dodge. Sticking to stable warmth, humidity, and placement helps prevent those failures.
Managing Mold Risks in the Ootheca
Mold on an ootheca can be worrying, often appearing as fuzzy white or green patches in overly damp conditions. Preventing mold starts with balancing humidity and ventilation, so the egg case stays moist but not wet. We lightly mist the area around the ootheca rather than spraying it directly, and ensure air can flow freely to discourage fungal growth.
If you spot mold, act quickly to save the eggs. Gently wipe the affected area with a cotton swab dipped in a diluted vinegar solution (one part vinegar to ten parts water) to disinfect without harming the embryos. After treatment, increase ventilation by propping the enclosure lid slightly or using a small fan on low setting nearby to dry the excess moisture.
- Check the ootheca weekly for discoloration or fuzzy spots, especially in corners.
- Adjust misting habits-reduce frequency if the enclosure feels soggy.
- Use natural antifungal options like cinnamon powder sprinkled lightly around the base as a preventive measure.
- Relocate the ootheca to a drier part of the enclosure if mold persists.
In severe cases, where mold has spread extensively, it might be too late to save the eggs, but early intervention often works. We’ve rescued several oothecae this way, learning that a watchful eye and prompt care can make all the difference. Remember, a little mold doesn’t always mean disaster-it’s a sign to tweak your setup for better balance.
FAQs on Mantis
How does hatching time differ in warmer climates like Utah in August?
In warmer regions such as Utah during August, elevated temperatures often shorten the hatching period to as little as 2-4 weeks. Always monitor humidity levels closely to prevent the ootheca from drying out in the heat.
Are video guides useful for hatching praying mantis eggs indoors?
Video tutorials can visually demonstrate key signs of hatching, like ootheca darkening or nymph emergence, which aids in timing your care. They also offer tips on maintaining ideal indoor conditions without overwhelming new keepers.
What should I look for when buying mantis eggs to hatch?
Select oothecae from trusted breeders who guarantee their health and provide details on species and incubation needs. Avoid egg cases with visible cracks, discoloration, or mold to ensure a successful hatch. For a complete overview of caring for ootheca and hatchlings, consult our praying mantis ootheca care guide on egg cases (ootheca) and their incubation needs. Following the guide helps optimize humidity and temperature for healthy nymphs.
Your Mantis Egg Hatching Adventure Awaits
Praying mantis eggs typically hatch within 3 to 6 weeks, with species and temperature guiding the exact timeline. To hatch them successfully, follow a simple step-by-step approach. Keep the ootheca in a warm, humid enclosure and watch for tiny nymphs emerging like miniature explorers.
As responsible mantis keepers, we must ensure a safe habitat and steady food supply for the new hatchlings. Continue learning about their unique needs to nurture a thriving, fascinating pet for years to come. A complete care and handling guide for pet praying mantises can help you implement best practices. It covers safe handling, enclosure design, and recognizing stress signals to keep both you and your mantises comfortable.
Further Reading & Sources
- r/mantids on Reddit: Psa, praying mantis eggs do not take 6 to 8 weeks weeks to hatch, and it’s best not to believe the instructions if you ever end up ordering some
- Ootheca Life Cycle Praying Mantis Egg – USMANTIS
- breeding – When will mantis eggsacks hatch if kept at room temperature? – Pets Stack Exchange
- Praying Mantis Eggs: What Do Praying Mantis Egg Sacs Look Like | Gardening Know How
Rowan Hale is a lifelong insect enthusiast who fell in love with mantises for their calm presence, alien elegance, and surprising personalities. After years of keeping and raising a variety of species, Rowan shares practical tips, creative insights, and real-world experience to help others enjoy the quiet magic of mantis care. From setting up the perfect enclosure to understanding their subtle behaviors, Rowan invites readers into a gentle, curious world where every tiny movement feels like a discovery.
Egg Care